Introduction
Hello there ! So this is my first Blog post and I think this is the beginning of a long series. With this I will try to Share with you some experimentation, Work in progress ... Everything I think that could be cool to share with you, and mainly things that I can't share on my Artstation portfolio (that I have to update ^^).
So for this first Blog post I would like to share with you some of my latest experimentation about Photogrammetry (mainly for games).
During a long time I was thinking that Photogrammetry was only accessible for big studios like DICE (which is a big inspiration for me) with "a lot" of budget because of the equipment cost which is needed to scan things, but last year I found this article "Go scan the world! photogrammetry with a smartphone" made by Allegorithmic and it show me that I was wrong. So I start learning and watching some workshop about Photogrammetry (from DICE and Quixel), and during my holidays I decided to start practicing it.
First Failure
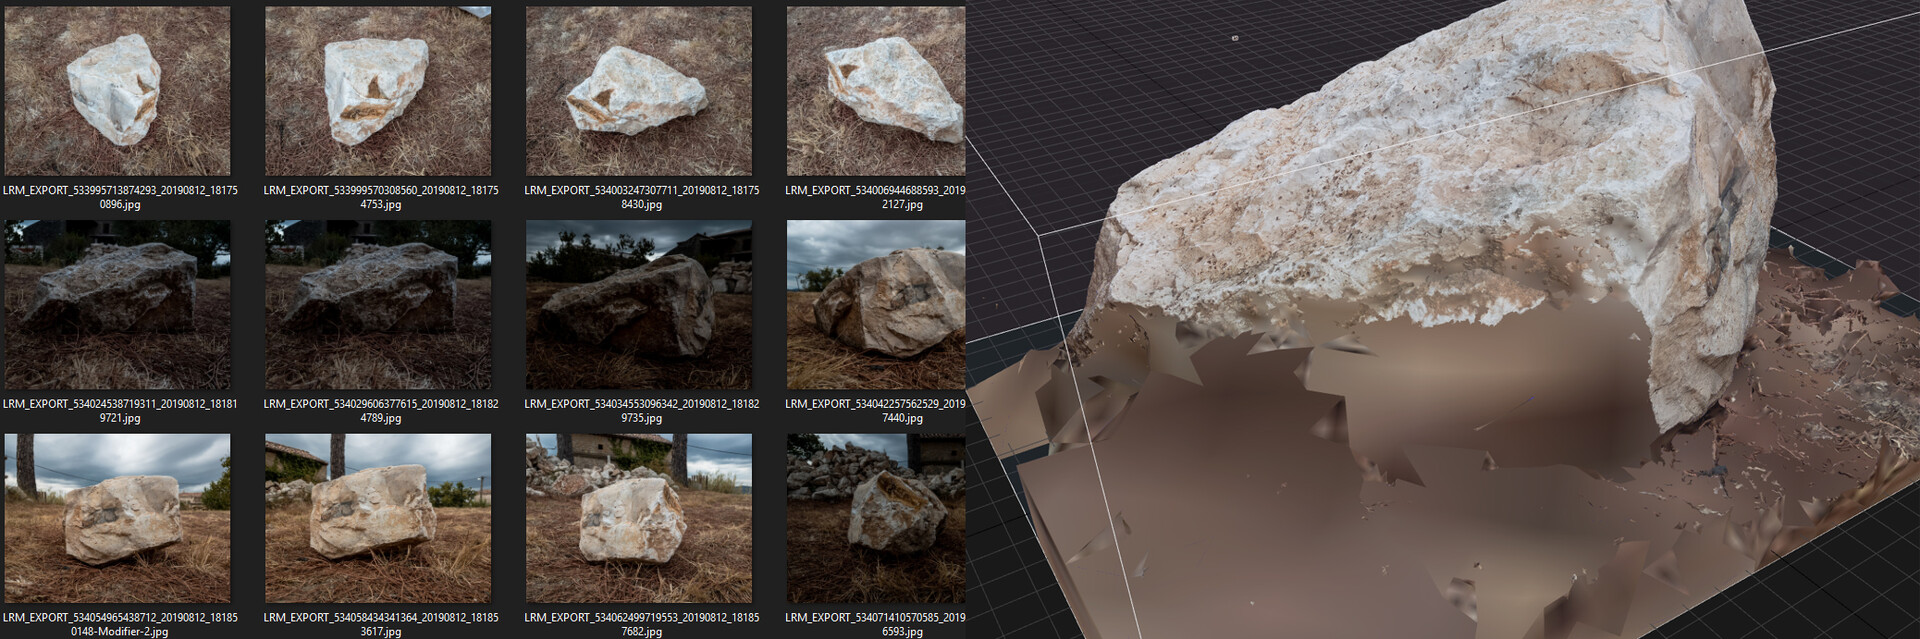
As I expected, my first tests were a big failure, I tried to scan some rocks with my phone, but the first problems that I have to face was that I forgot to manually change my parameter on my phone, I stayed in automatic, so for every pictures I made my exposure changed, my aperture was not good so some part of my rocks was blurred, and a lot of my photos was totally blurred because I was shaking a little bit during the capture. And also sometimes I didn't have enought overlap between 2 pictures.
Here is a quick exemple of the issues I get with all of that :
Second Try
I had a lot of chance, because the next day the weather was also overcast (which is really unusual in south of France during this season). For this second try I have taken my parent's old camera (a Sony DSC HX9V) With it my pictures are stabilizing a bit, but I can't take HDR pictures and export them in .RAW, but I don't have a color checker to adjust my white balance in post processing so that's not a big trouble. (Later I will see if I will invest in some better equipment).
This second try was a "success", my pictures were nice and ready to be used in Reality Capture to generate my mesh. After that I exported it in Zbrush to clean my topology with the Decimate tool and some manual cleaning. When my low poly version was ready to use I unfold it out in Maya and baked it with Substance Designer. For the Delighting part I use the Unity Delighting Tool and after that I import all of this in Substance Painter to clean my albedo and also create my Roughness map and I rendered it out in Marmoset. I kept a high amount of tris for these two assets, as if it was the LOD 0, because they will only be used for presentation, so for close up.
Here are my current results (screen + marmoset viewer) :


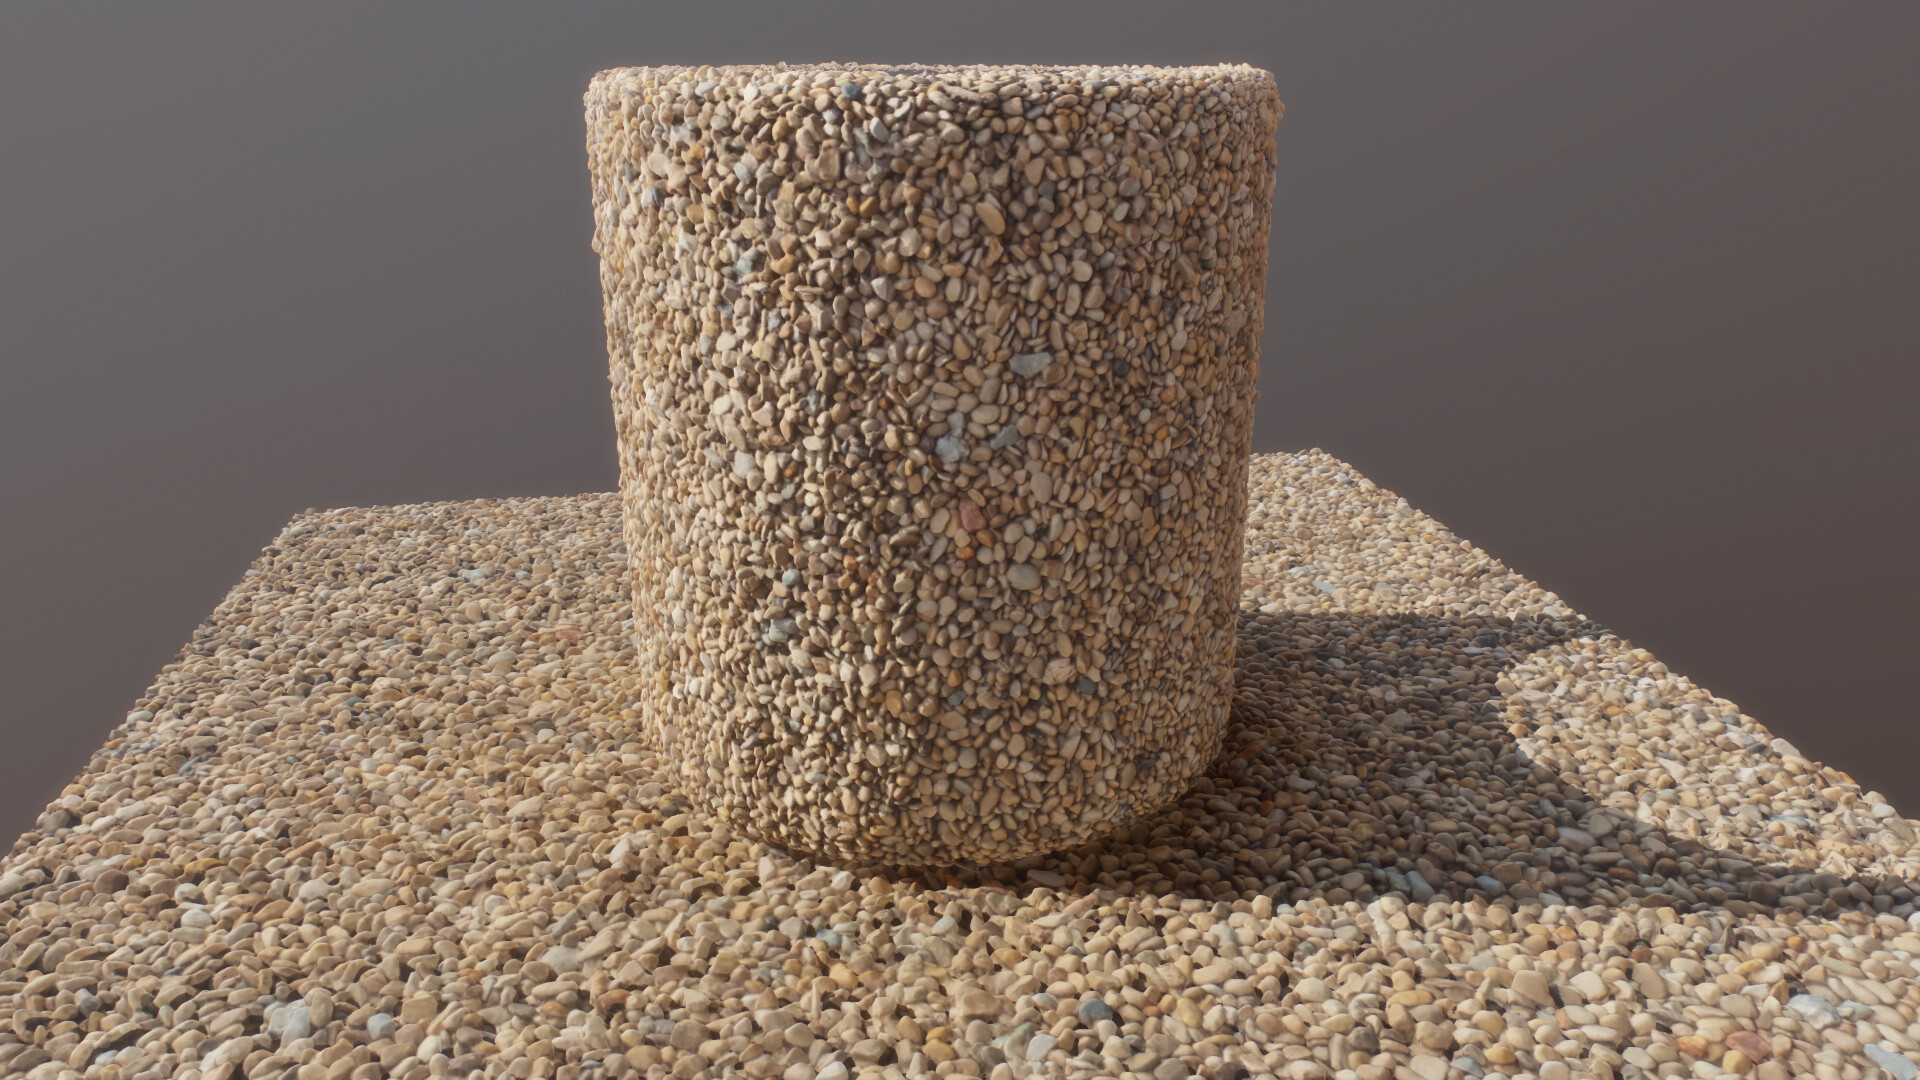
Tilable Material
And I also tried to create a tileable Material with the same process, but this time I tried to Delight it in Substance designer.
So, now what's next ?
Now I will try to use this workflow to create a small environment (like a diorama) in Unreal, to continue practicing. My goal is trying to find a way to keep a nice overall quality without making a scene with too noisy details.
I hope you like this first blog post, If you have some feedbacks about my scan or something else feel free to share it. I made this blog to exchange with all of you so don't shy. It is by sharing information and experiences that we can learn from each others